
Last updated November 16, 2026
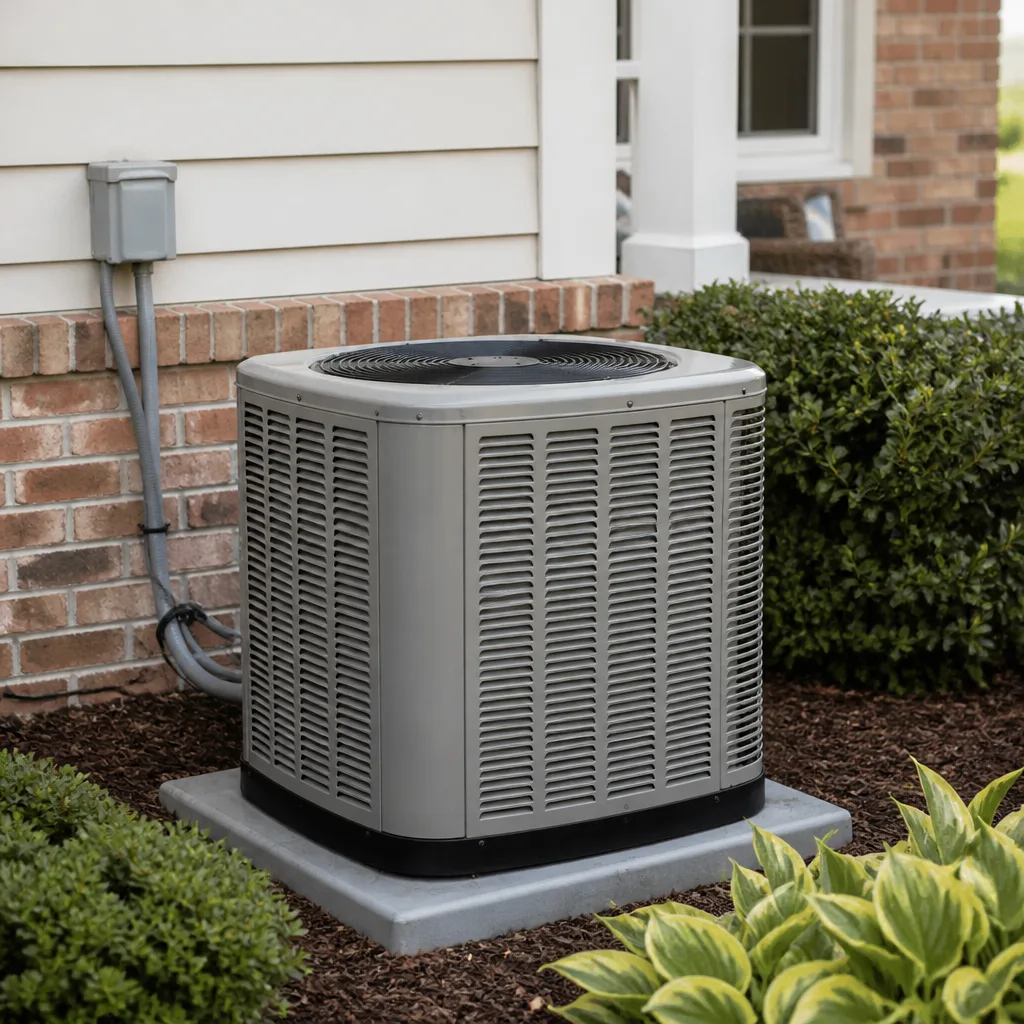 AC repair
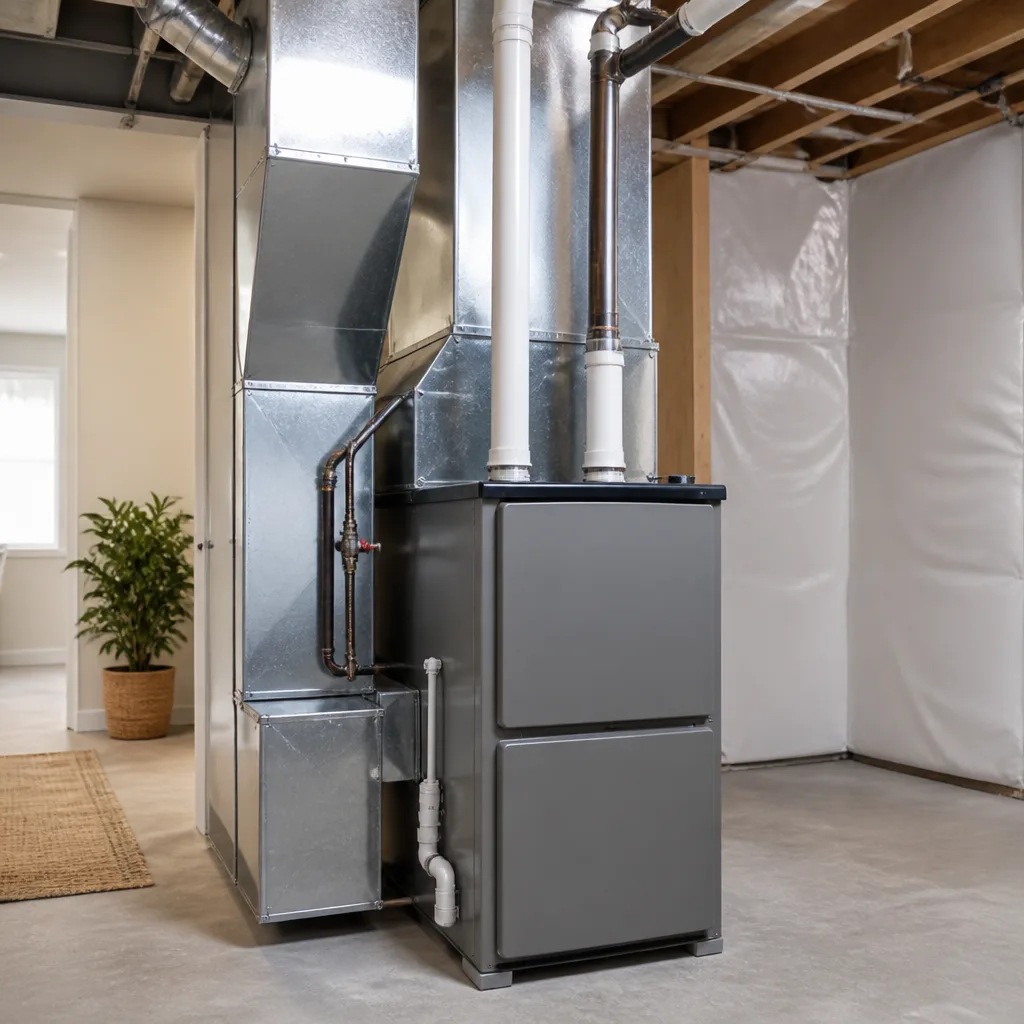 Furnace & heating
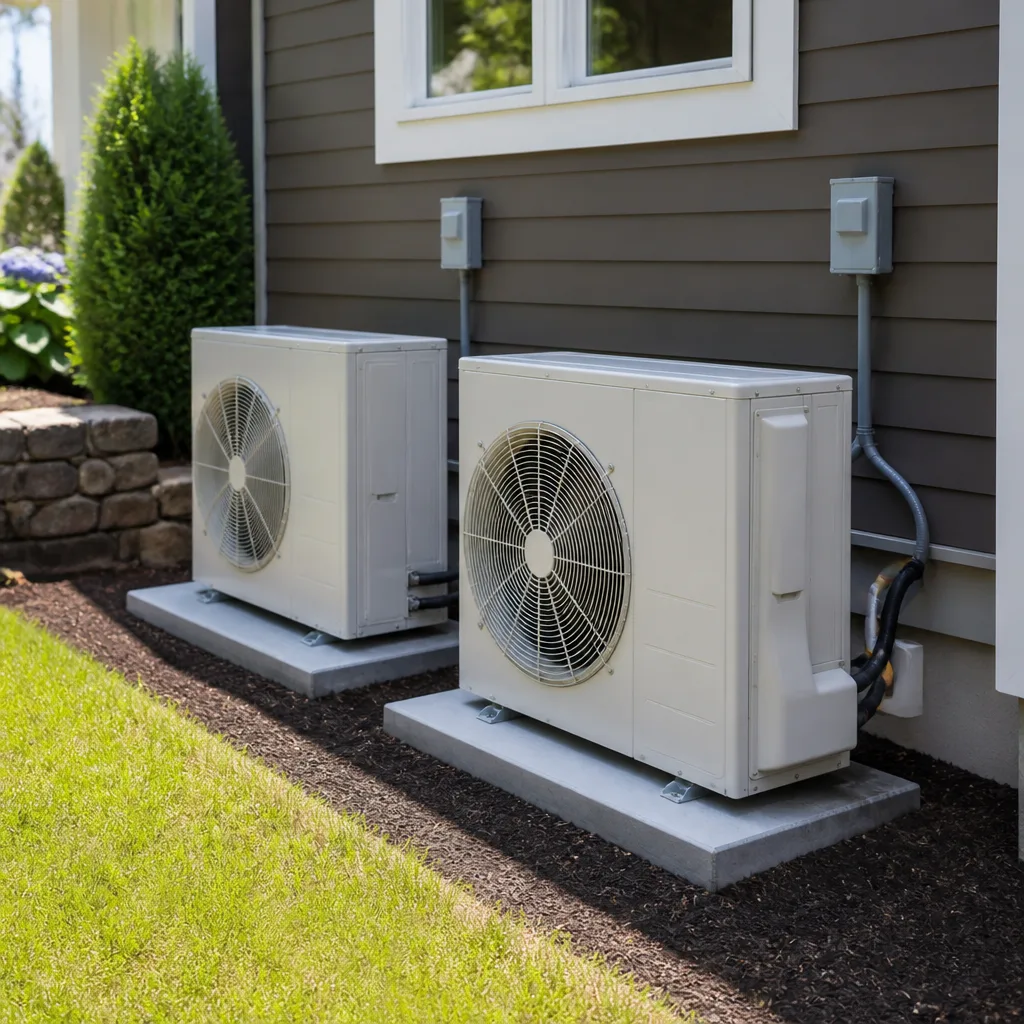 Heat pumps
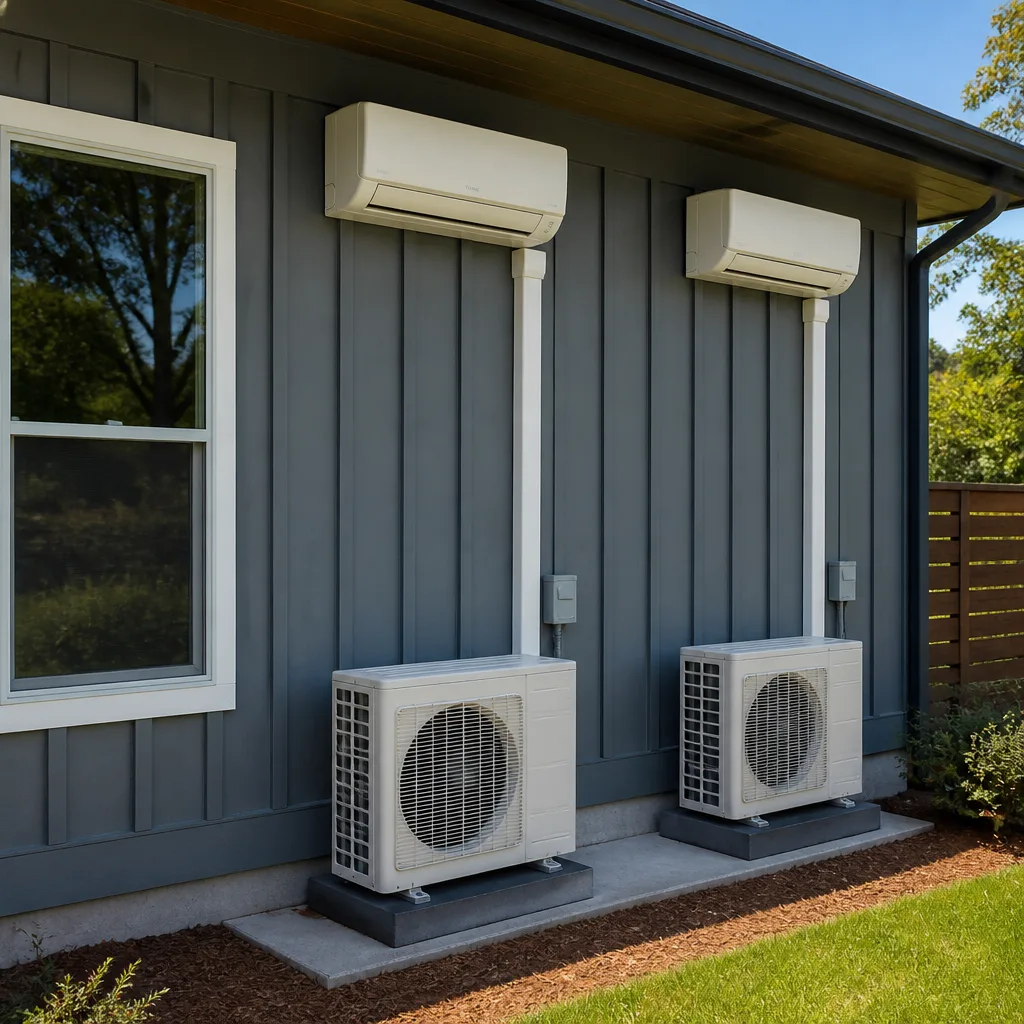 Ductless mini splits
 Carrier
 Trane
 Goodman
Seasonal tune-up and full diagnostic on your Carrier, Trane, or Goodman system - readings shown to you before any repair is proposed
Diagnosis first, numbers second - you approve the repair price before a single part goes in.
Get your free estimateAC Installation Maintenance Checklist for Pembroke Pines Homeowners
A new air conditioner that fails in year two is rarely a manufacturing defect. More often it traces back to something nobody checked in week one: a unit sized by guesswork instead of a real load calculation, so it short-cycles its way through every Pembroke Pines summer. Or a refrigerant charge that was “close enough” on a 95-degree commissioning day and stayed that way. The result is a system that limps through warranty instead of proving the install was done right. This guide gives Pembroke Pines homeowners the benchmarks, timelines, and readings to verify a new installation while there’s still time to act on what they find.
Quick Answer
A proper AC installation in Pembroke Pines should be verified on the day it’s commissioned with documented refrigerant charge, static pressure readings, a condensate drain test, and thermostat calibration. Then check it at 30 days (airflow and drain), 90 days (run-time and filter condition), and one year (full performance comparison against your baseline readings). Anything that fails those benchmarks in the first cooling season is usually an installation issue, and it should be a callback, not a paid service visit.
Styles & brands we work with
- AC repair
- Furnace & heating
- Heat pumps
- Ductless mini splits
- Carrier
- Trane
- Goodman
Table of Contents
- What to Physically Verify Before the Installer Leaves
- How to Document Refrigerant Charge and Static Pressure
- The 30-Day, 90-Day, and One-Year Benchmarks
- Why South Florida Humidity Changes the Rules
- Maintenance Tasks That Become Yours on Day One
- Red Flags That Mean Installation, Not Maintenance
- How Neglect Voids a Warranty
What to Physically Verify Before the Installer Leaves
The commissioning walkthrough is the single best window you’ll get to catch a problem. Once the van leaves, small issues turn into service calls. When a system goes in through AC installation, the technician should walk you through each of these and let you see them, not just hand you a clipboard. Here’s what to check, in order:
- Airflow at every register. Walk room to room with the system running and hold your hand at each supply vent. Airflow should feel strong and consistent. A weak register at the far end of the line, or one that feels warmer than the next, is a sign of duct or balancing trouble worth flagging on day one.
- Thermostat calibration. Put a separate thermometer next to the thermostat and compare. If your stat reads 76 and the room reads 79, the unit is being asked to hit a temperature it will never reach, and it will run longer than it should.
- Condensate drain test. Ask the technician to pour water into the drain pan and confirm it flows freely to the outside. In Pembroke Pines, drains clog with algae and dust fast, and a slow drain stops being a nuisance the day it overflows into a closet.
- Return air grille. The return should be the same physical size or larger than the supply it serves. An undersized return chokes the system and shows up as high static pressure.
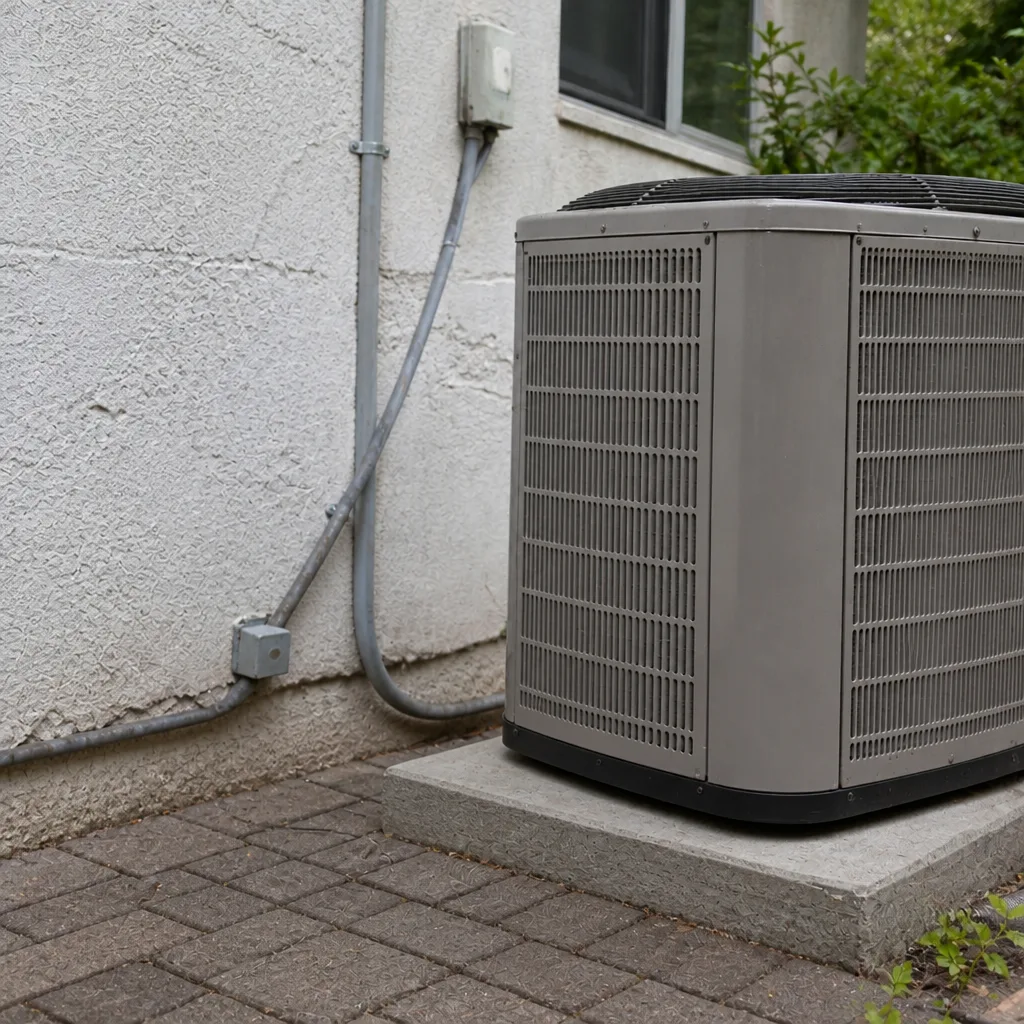
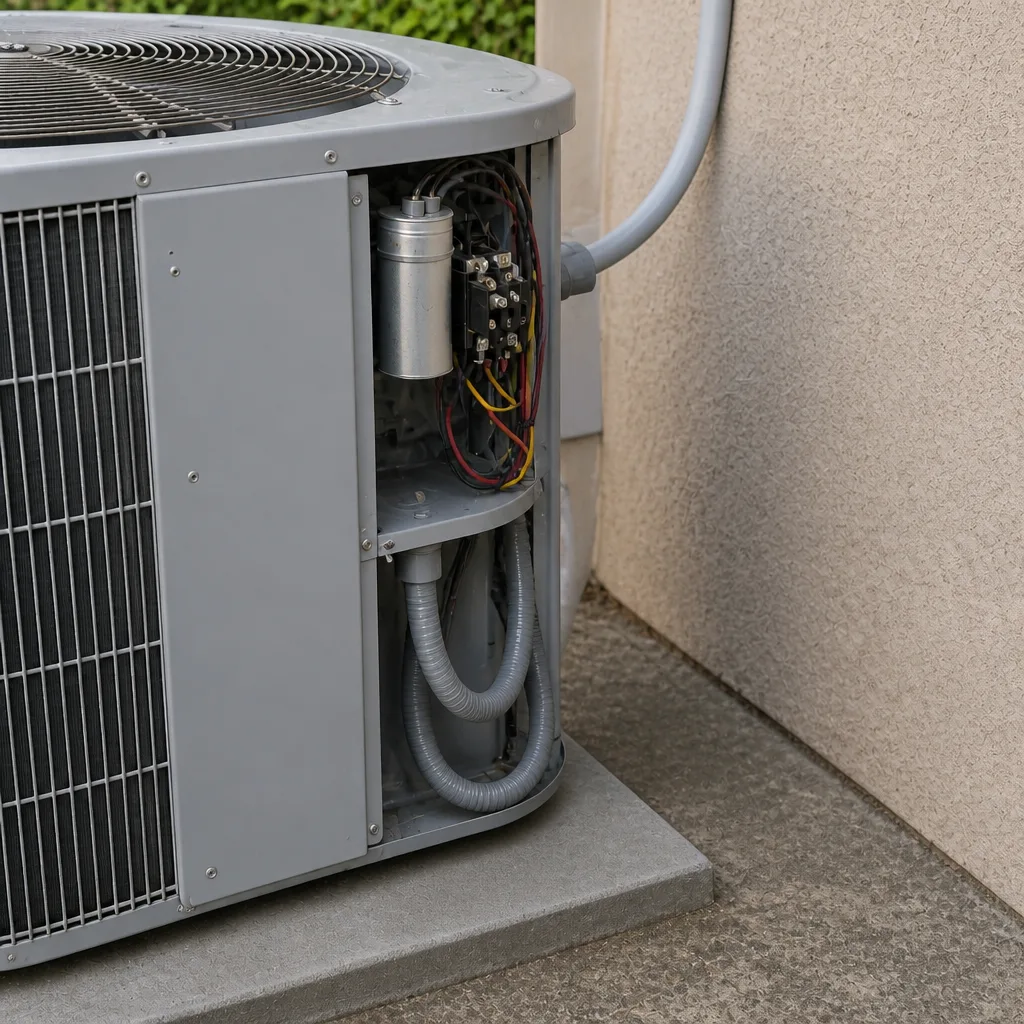
- Outdoor unit clearance. The condenser needs breathing room. Check that the installer left clearance on all sides and didn’t tuck it against a fence or under a palm.
If the installer can’t or won’t walk these with you, that’s information worth having. A system that gets commissioned properly is one where these checks are standard, not a favor.
How to Document Refrigerant Charge and Static Pressure
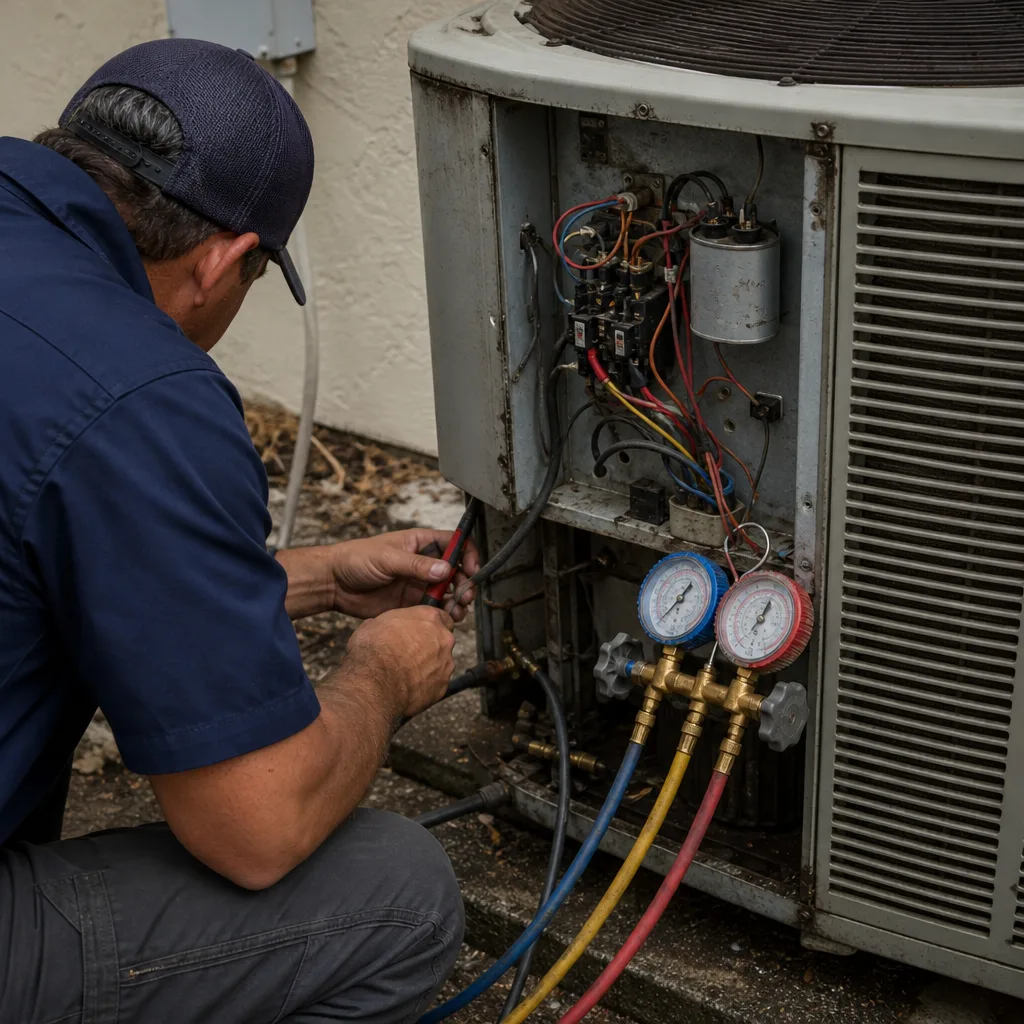
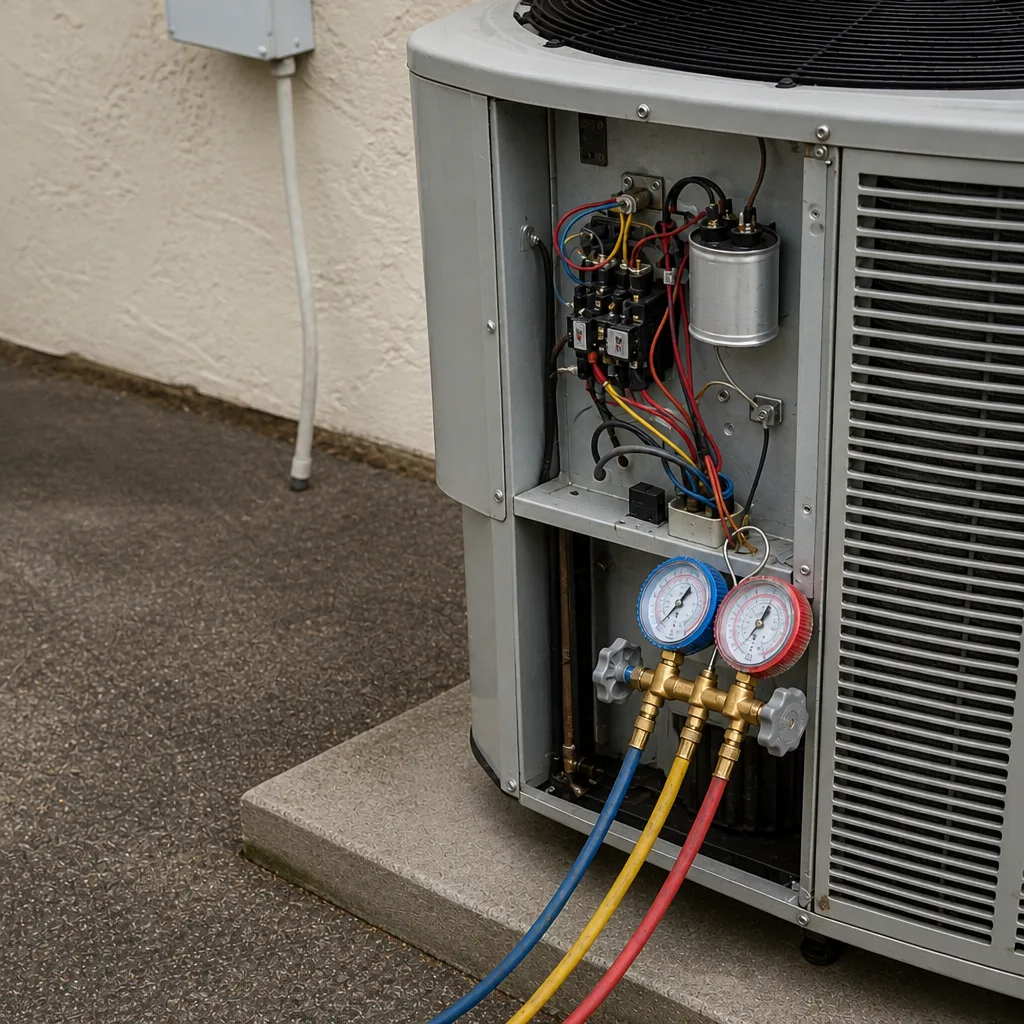
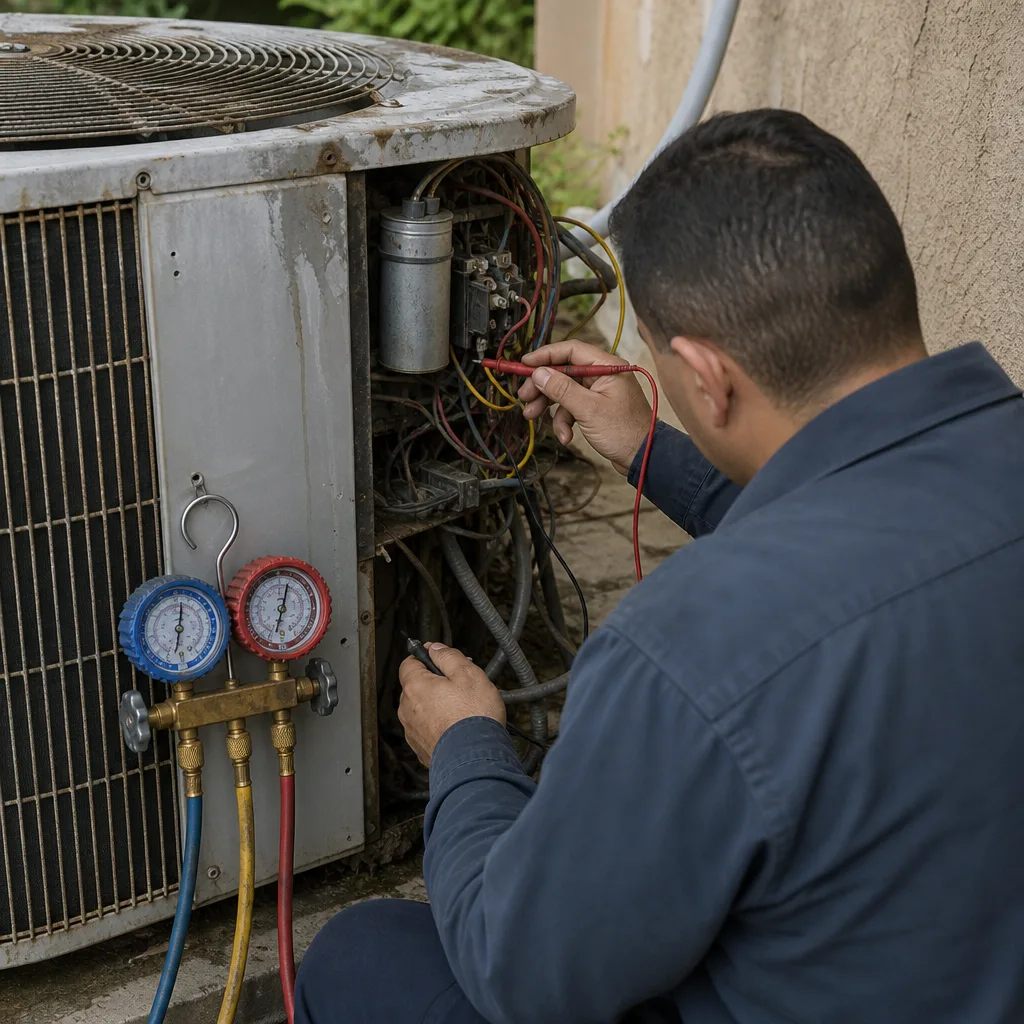
This is the step most homeowners skip, and the one that saves the most money later. Two readings taken on install day become your diagnostic baseline for the life of the system: refrigerant charge and static pressure. Every future technician can compare against those numbers instead of guessing at what “normal” looks like on your equipment.
Ask for both readings in writing. The refrigerant charge should be expressed as superheat and subcooling, not just “charged and checked.” The static pressure reading should be a number, measured at the return and at the supply plenum, with the filter in place. A system fighting high static pressure has to work harder for the same comfort, and that’s the fastest path to a compressor that ages out early.
Here’s what to record:
- Suction and liquid line pressures at commissioning.
- Superheat and subcooling with the outdoor temperature noted, since a 95-degree day reads differently than an 85-degree day.
- External static pressure at the air handler, with the filter brand and size recorded.
- Temperature split across the coil (return air temp minus supply air temp). A properly charged system in Pembroke Pines usually runs a split worth knowing by number, not feel.
- Filter size and model, so future replacements match.
Keep those readings in a folder with the equipment manual and warranty paperwork. When a technician comes out three years from now and says the system is undercharged, you’ll know what it started at, and whether the charge drifted or was never right.
The 30-Day, 90-Day, and One-Year Benchmarks
If you want a simple answer to “is my new install working properly,” check it at three points. A correct installation stays quiet, cool, and dry through all three. A flawed one shows its hand before the warranty clock runs out.
At 30 days
- All supply registers still delivering consistent airflow.
- Condensate drain water flowing freely, none standing in the pan.
- Filter still visibly clean or only lightly dusty.
- No unusual noise from the outdoor unit at startup or shutoff.
At 90 days
- Run time reasonably tracks outdoor heat. A unit that cycles on and off rapidly is a candidate for the oversized-unit conversation.
- Filter changed at least once.
- Thermostat holding set temperature without grinding toward it.
- Indoor humidity inside a comfortable band. If the house feels clammy while the AC runs constantly, that’s a run-time clue, not a weather story.
At one year
- Full cooling performance comparison against the install-day temperature split.
- Refrigerant pressure check against baseline.
- Condensate drain flushed, pan cleaned.
- Outdoor coil washed of the pollen, grass clippings, and dust that South Florida throws at it.
A 30-day check that turns up a weak register or a slow drain is a callback. A one-year reading that has drifted from the baseline is a diagnostic conversation about what changed and why.
Why South Florida Humidity Changes the Rules
An AC in Pembroke Pines isn’t just cooling air. It’s pulling moisture out of the home, and the way that job gets done has a lot to do with whether the equipment was sized correctly. A unit that’s oversized for the home cools the air quickly and then shuts off before it has time to dehumidify properly. The house feels cool and clammy at the same time. Homeowners in Pembroke Pines call us about that sensation often, and the underlying cause is almost never the thermostat.
What proper sizing looks like on paper:
- A load calculation based on the home’s square footage, window area, insulation, and orientation, not a rule-of-thumb from the old unit’s label.
- A unit that runs in longer, slower cycles on hot days, not short bursts.
- Running time that keeps pace with the outdoor heat instead of racing ahead of it.
Homes east of Flamingo Road and west of I-75 see similar summer humidity loads, even though the housing stock differs. Whether the home is a newer build, a townhome, or an older single-family with original ductwork, the equipment still has to be sized to the actual house. In our experience, the most common installation problem we encounter isn’t a brand choice, it’s a unit that was ordered by square footage instead of by load calculation. Correct sizing is what puts Remington AC Repair technicians in a position to recommend what actually fits the home rather than what’s on hand.
Maintenance Tasks That Become Yours on Day One
The moment the installer drives away, some of the system’s ongoing care shifts to you. None of these tasks are difficult, but skipped ones are where the warranty clock starts to work against you. Here’s the short list.
- Change the filter on a schedule. Check it monthly in heavy-use months and swap it when it’s visibly loaded. Note the filter size from your install paperwork so you buy the right one.
- Keep the outdoor unit clear. Clear leaves, grass clippings, and debris from around the condenser. Trim back any plant growth that crowds its airflow.
- Check the drain pan. Look for standing water. Algae growth in the drain line is a routine Pembroke Pines reality, and flushing the line is cheap insurance.
- Keep vents open and unobstructed. Furniture and rugs over registers force the system to work harder for less comfort.
- Watch the thermostat. A thermostat that drifts means the system runs longer than it needs to. Calibration is worth checking once a season.
- Save the install paperwork. Warranty claims start with the documentation from day one.
These tasks do more than protect the equipment. Manufacturers frequently tie warranty coverage to documented filter maintenance and proper operation, so a skipped filter isn’t just a comfort issue, it’s a coverage issue down the line.
Red Flags That Mean Installation, Not Maintenance
Some problems are routine and belong on a maintenance call. Others are a sign that the install itself needs a second look. Knowing the difference can save you a service fee and point you at the right conversation.
Red flags in the first cooling season that point to installation:
- Short cycling. The unit comes on and off every few minutes instead of running in longer cycles. This is a sizing or thermostat issue, not a maintenance one.
- Uneven room temperatures. One bedroom stays several degrees warmer than the rest of the house, even after rebalancing air vents. Duct design or register sizing is worth questioning.
- Constant indoor humidity. The house feels clammy while the AC is running. Undersized or oversized equipment both cause this, and both are installation problems.
- Refrigerant pressure off baseline. A system that’s already needed refrigerant within the first year has either a leak or a charge that never got dialed in correctly.
- Water in the drain pan. Standing water after a few weeks points to a drain slope issue or clog from install day.
- Noisy outdoor unit. Buzzing, rattling, or grinding from a new condenser usually means a mounting or electrical issue.
Any of those should prompt a call to the installer for a callback visit, not a routine service call. A properly installed system shouldn’t need a service visit to fix itself in year one. When we work with furnace repair customers in the colder months, the same rule applies to install-day problems in the heating side: if it doesn’t work right the first season, that’s a callback.
How Neglect Voids a Warranty
Manufacturer warranties rarely fail on a defective part alone. They fail when the homeowner can’t show the equipment was maintained as specified. Most residential warranties require documented filter changes and an annual professional inspection. A new system installed properly on day one but neglected afterward puts the coverage at risk in a way the installer can’t fix.
Two habits keep you covered:
- Log every filter change. Date, filter size, and who changed it. A phone photo of the filter before you swap it is enough.
- Have the system professionally checked once a year. The annual inspection captures the readings that compare against your install-day baseline, and it documents the maintenance history the warranty expects.
If the equipment is a Carrier, a Bryant, an American Standard, or a Trane, each has its own warranty terms. Reading the paperwork carefully is worth the twenty minutes. The point isn’t to frighten you into a service contract. It’s to make sure the new system you paid for stays covered when you need it. On that front, our technicians have up to 15 years of experience handling multi-brand installs, so reading your specific warranty language isn’t a hurdle.
Common Mistakes to Avoid
- Signing off without seeing the readings. A checklist the technician hands you isn’t proof of anything unless you’ve seen the actual refrigerant and static pressure numbers recorded. Two minutes with the gauge report is worth the whole install.
- Assuming the load calculation was run. If the new unit is the same tonnage as the old one, ask how that number was confirmed. Homes change, and so do the loads they put on an AC.
- Letting the filter slide. Pembroke Pines dust and pollen load up filters faster than many homeowners expect. Monthly checks in heavy-use months are not overkill.
- Ignoring moisture. Humidity problems get blamed on weather. Often they’re a sizing or airflow issue that should be caught before year one ends.
- Treating an install problem as a maintenance problem. A short-cycling new unit doesn’t need a service call. It needs the installer back.
- Not keeping the paperwork. Install-day readings, filter sizes, equipment model, and warranty documents should live in one folder, physical or digital.
- Waiting until the first humid August to check anything. Run your 30-day and 90-day checks on schedule. Problems found in week three are cheaper than problems found in month ten.
See the difference
 Before
 After
 Before
 After
 Before
 After
When to Call a Professional
Some of this checklist you can handle on your own. Others need a technician, and calling early is almost always the better choice. Call a pro when any of the following applies: the system short-cycles in its first cooling season, refrigerant pressure has drifted from your install-day baseline, the drain pan has standing water, a new unit is making noise it shouldn’t, or your indoor humidity stays high while the AC runs constantly. On the heating side, if your furnace stops producing heat or cycles irregularly, that’s a professional call too, especially if a carbon monoxide concern ever enters the picture; never troubleshoot a combustion issue yourself.
Remington AC Repair offers free estimates in Pembroke Pines. If you’re not sure whether what you’re seeing is an installation problem or a maintenance issue, we’ll work on your system, not just a brand, and give you straight answers on what’s actually going on. Call (866) 237-6150. We answer 24/7, with fast dispatch from 7am to 7pm, Sunday through Friday. You can also read more about our work in Pembroke Pines.
Frequently Asked Questions
You can often tell within the first 30 days. Short cycling, uneven room temperatures, a wet drain pan, or a unit that runs constantly while the house still feels clammy are all early signs the installation needs a closer look. Document what you observe, then call the installer for a callback rather than a routine service visit. If you’re not sure what you’re seeing, call us and we’ll give you a straight read on it.
Ask for refrigerant charge expressed as superheat and subcooling, static pressure at the air handler, and the temperature split across the coil. Get them in writing, along with the outdoor temperature when they were taken. Those become your baseline for every future diagnostic. Without them, every technician you call afterward is guessing. If the installer can’t provide them, that’s worth flagging before you sign off.
Once a year for the professional inspection, plus monthly filter checks during heavy-use months. South Florida’s humidity load means the system works harder for longer, so seasonal care matters. A 30-day, 90-day, and one-year personal check complements the annual professional visit. If you notice variance from baseline at any point, don’t wait for the next scheduled check.
Yes, and it’s one of the most common installation problems we see. An oversized unit cools the air quickly and shuts off before it removes enough moisture, so the house feels cool and clammy at the same time. It also short-cycles, which wears out the compressor faster and can affect the manufacturer warranty. A proper load calculation is what protects against this, and it’s the conversation to have before the install, not after.
Any reputable installer should return for any failure that traces back to the installation itself, especially within the first cooling season. That’s a callback, not a service call fee. Keep your install-day readings and warranty paperwork in one place so you can point to what was recorded. If the original installer isn’t responding, we can assess what’s going on and let you know whether it looks like an install issue or a system issue.
Yes, especially in the first few weeks. A house that feels clammy while the AC runs constantly points to a sizing or airflow problem, not a weather story. If your indoor humidity doesn’t settle into a comfortable range after the first month, that’s a red flag worth raising with the installer. If we’re the ones assessing it, we’ll give you an honest read on whether the equipment is right for the home.
The Bottom Line
The purpose of a post-installation checklist isn’t to confirm what was already done. It’s to give you specific readings, timelines, and red flags that prove the installation was done right while the warranty is still active. Document your refrigerant charge and static pressure on day one. Run your checks at 30 days, 90 days, and one year. Know the difference between an install problem that gets you a callback and a maintenance issue that gets you a service call. Keep your filter log and paperwork in one folder. If a new system in Pembroke Pines fails out of the gate, it’s usually not the equipment. It’s a detail nobody checked in week one, and this checklist is how you make sure that detail doesn’t slip past you.
Written by the team at Remington AC Repair.